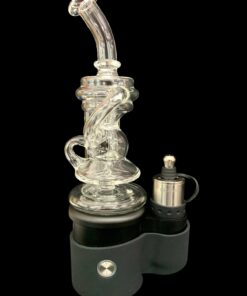

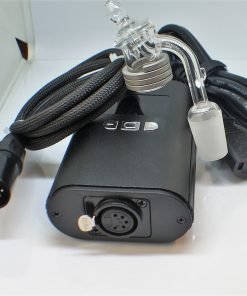


Electric eNail with 20mm Round Coil – Quartz Banger and Directional Airflow Carb Cap

$116.15
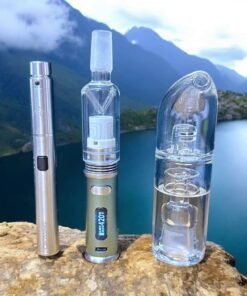
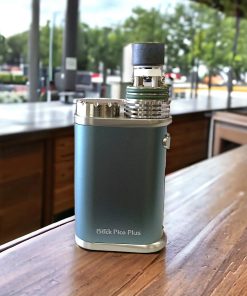
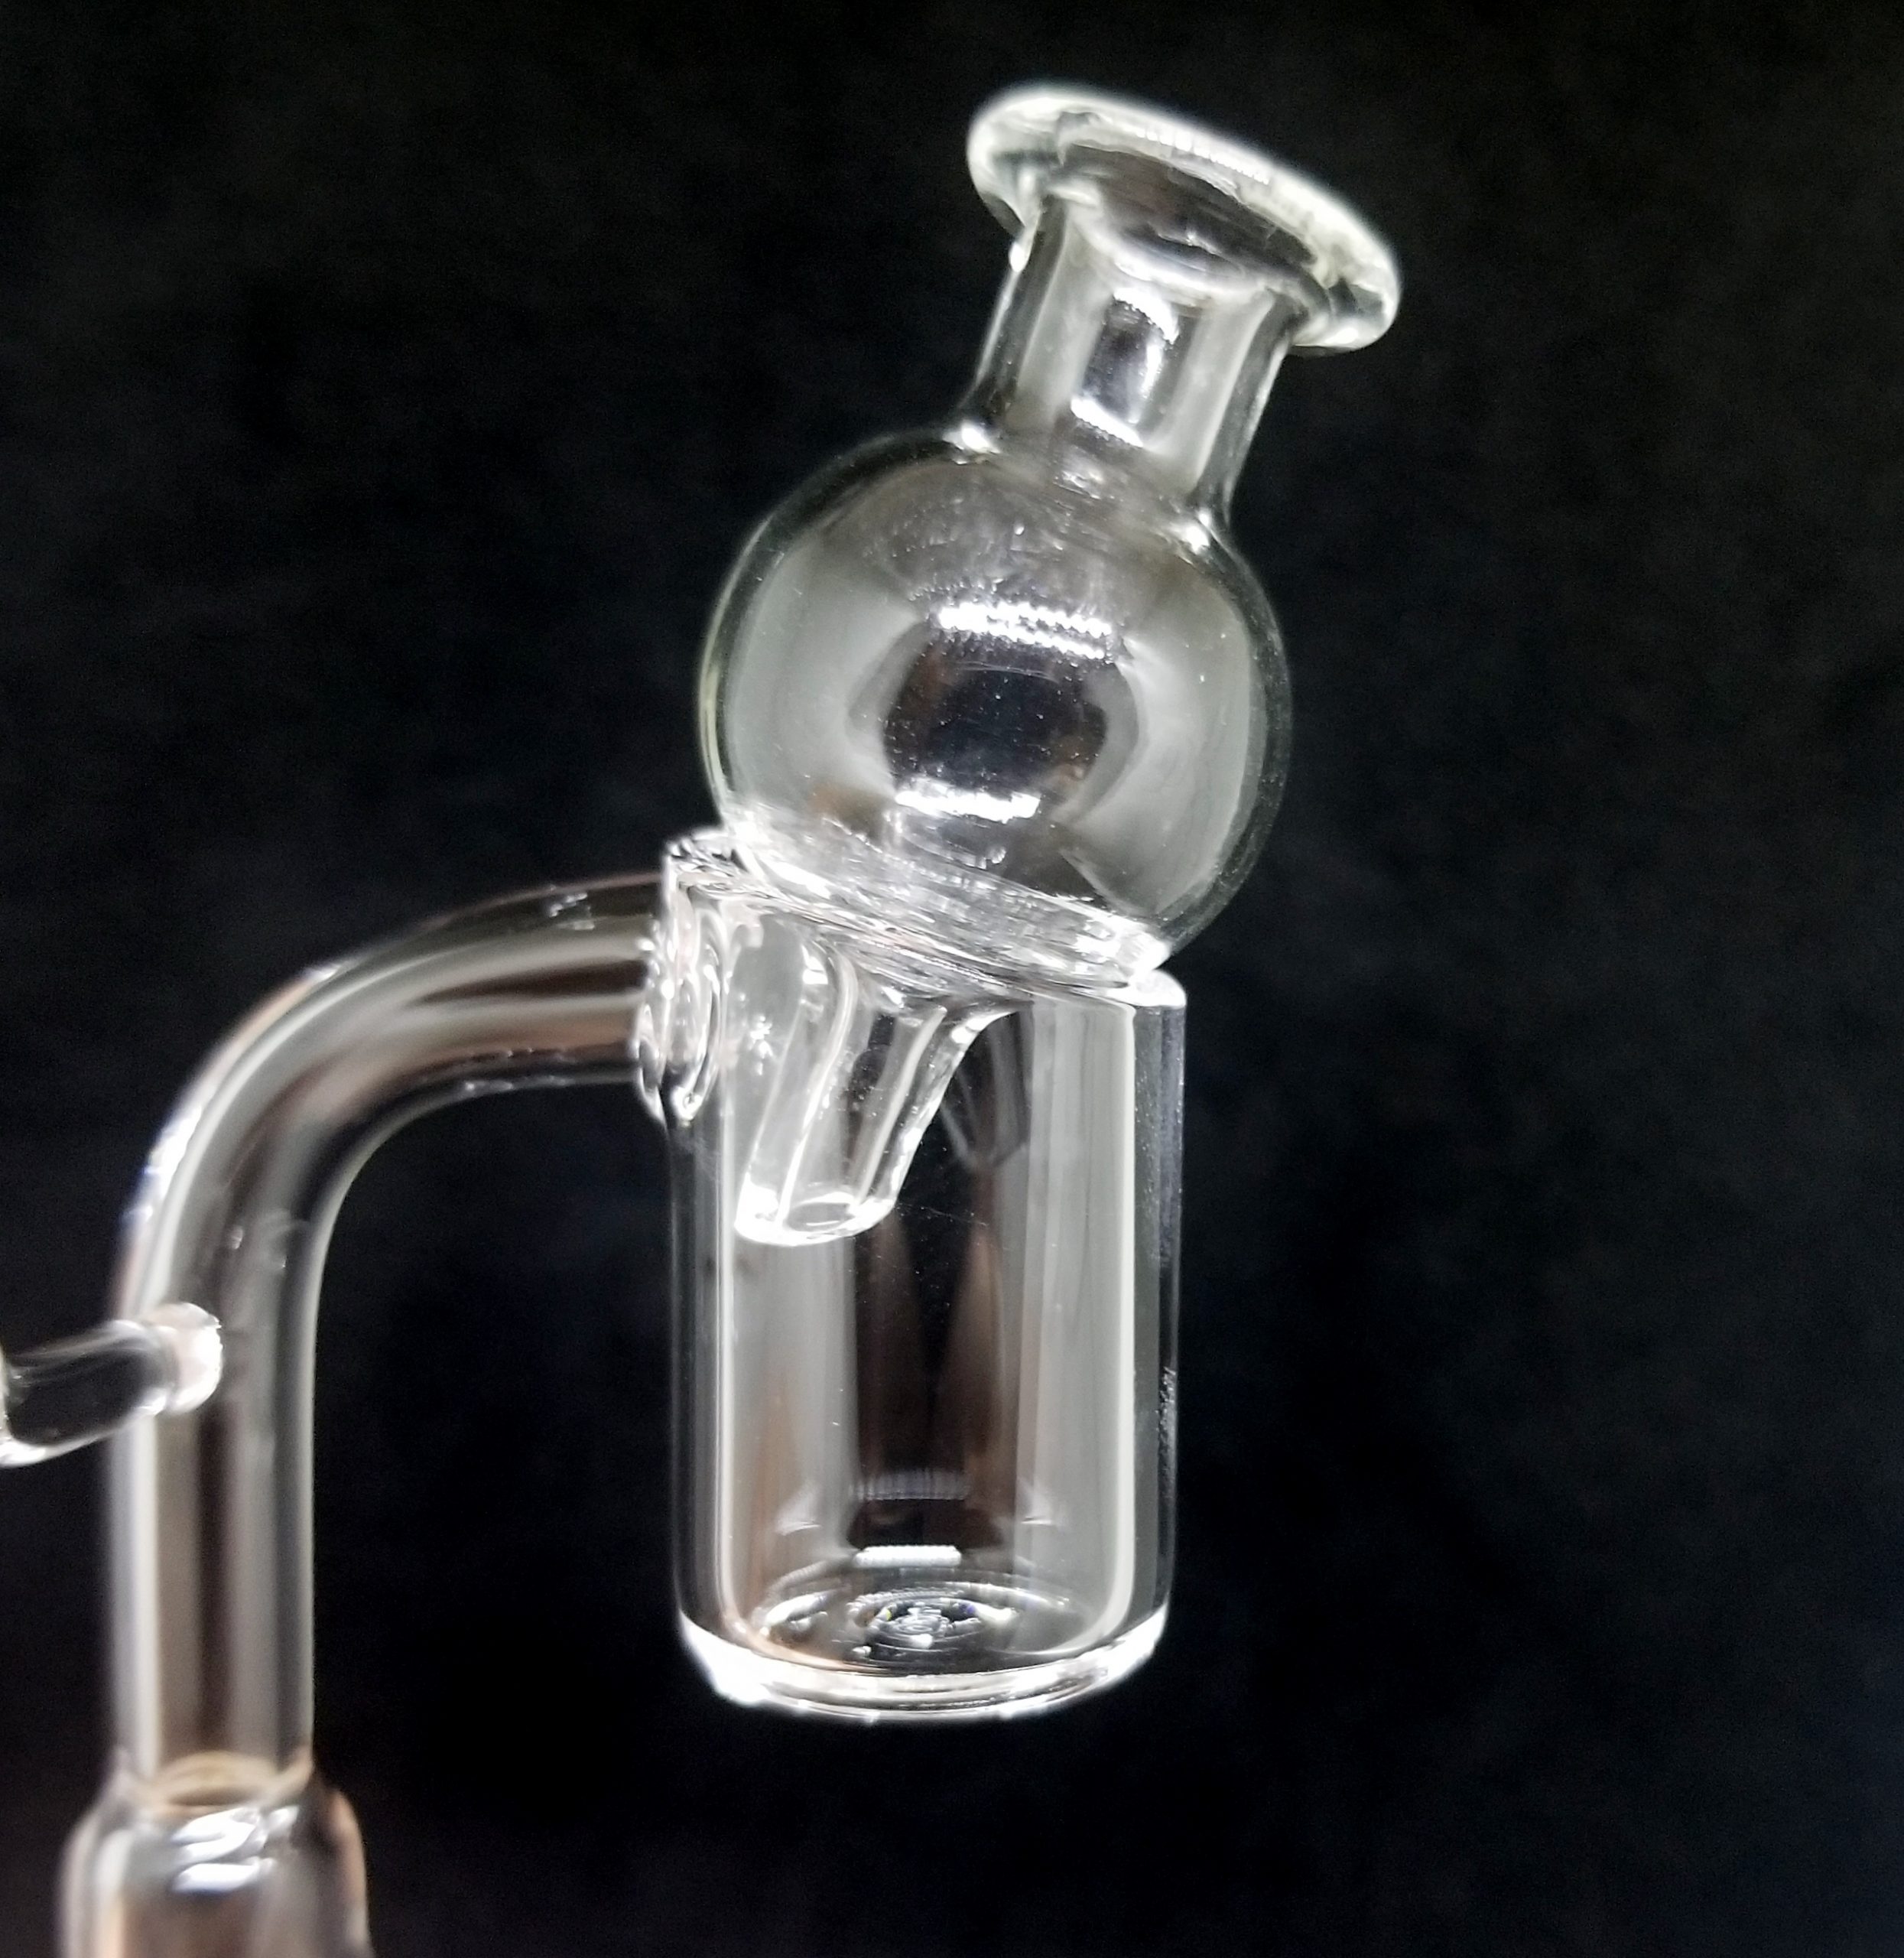
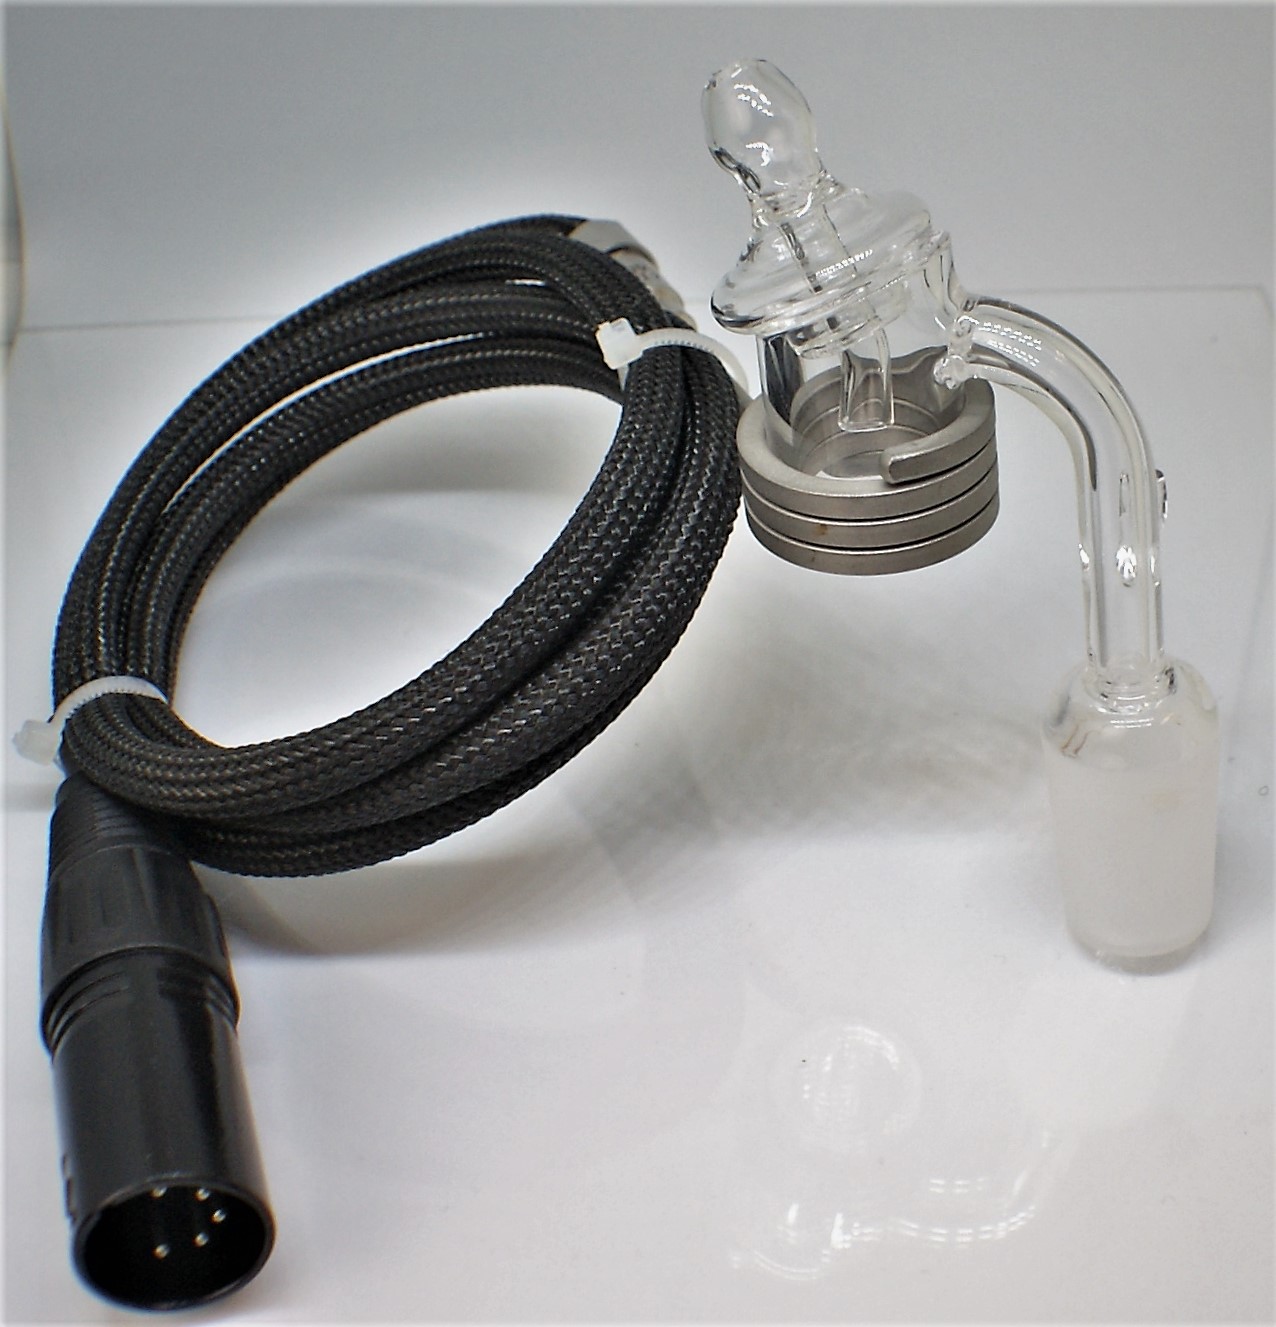
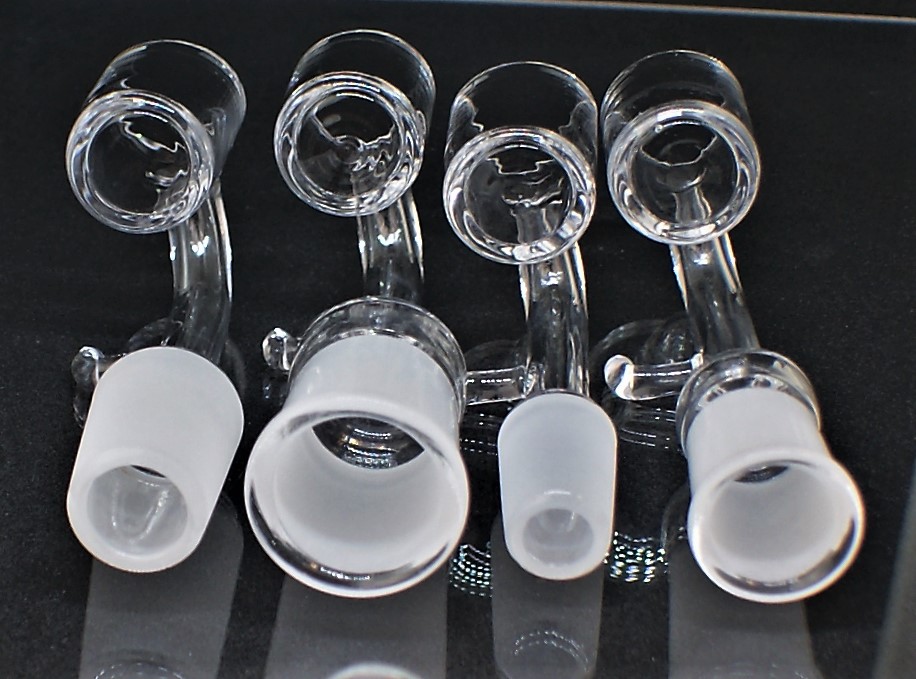
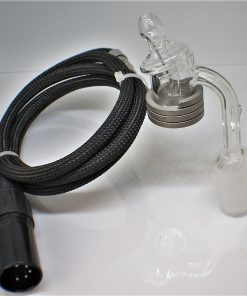
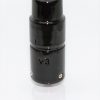
Electric eNail kit with 20mm round coil, quartz banger, and directional airflow carb cap. The 14mm male banger is the standard size, but we also carry 14mm female and 18mm female 20mm bangers. Choose your banger size below.
Ω Electric eNail with 20mm Round Coil Ω
Quartz Banger & Directional Airflow Carb Cap
🔥 Matt’s Personal Pick
This is the eNail coil I use myself and the airflow and flavor I get from my concentrates is unmatched on any device. I have used and sampled a good amount of nails and this one is the best to date. I love to dab daily. Terpenes from your strains are important and being able to taste the strain and have that flavor on your taste palette for 10 minutes afterward is important.
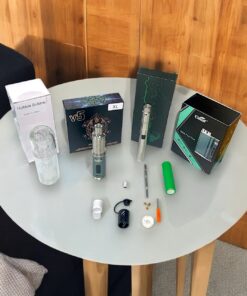
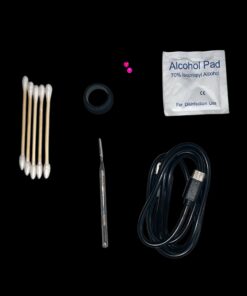
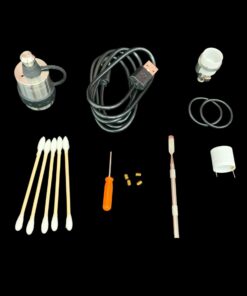
📦 Kit Includes
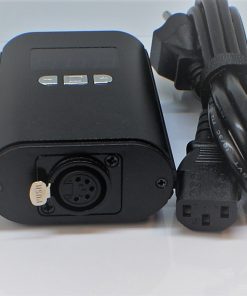
| Controller Box & Power Cord 1 year guarantee |
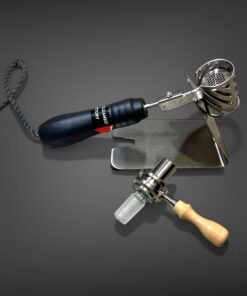
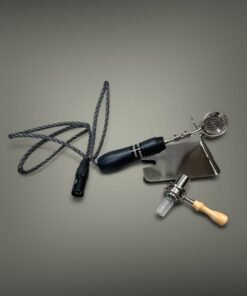
20mm Coil 1 year guarantee |
| Quartz Banger 20mm diameter, 2.5mm thick (pick 14mm male/18mm male or female) |
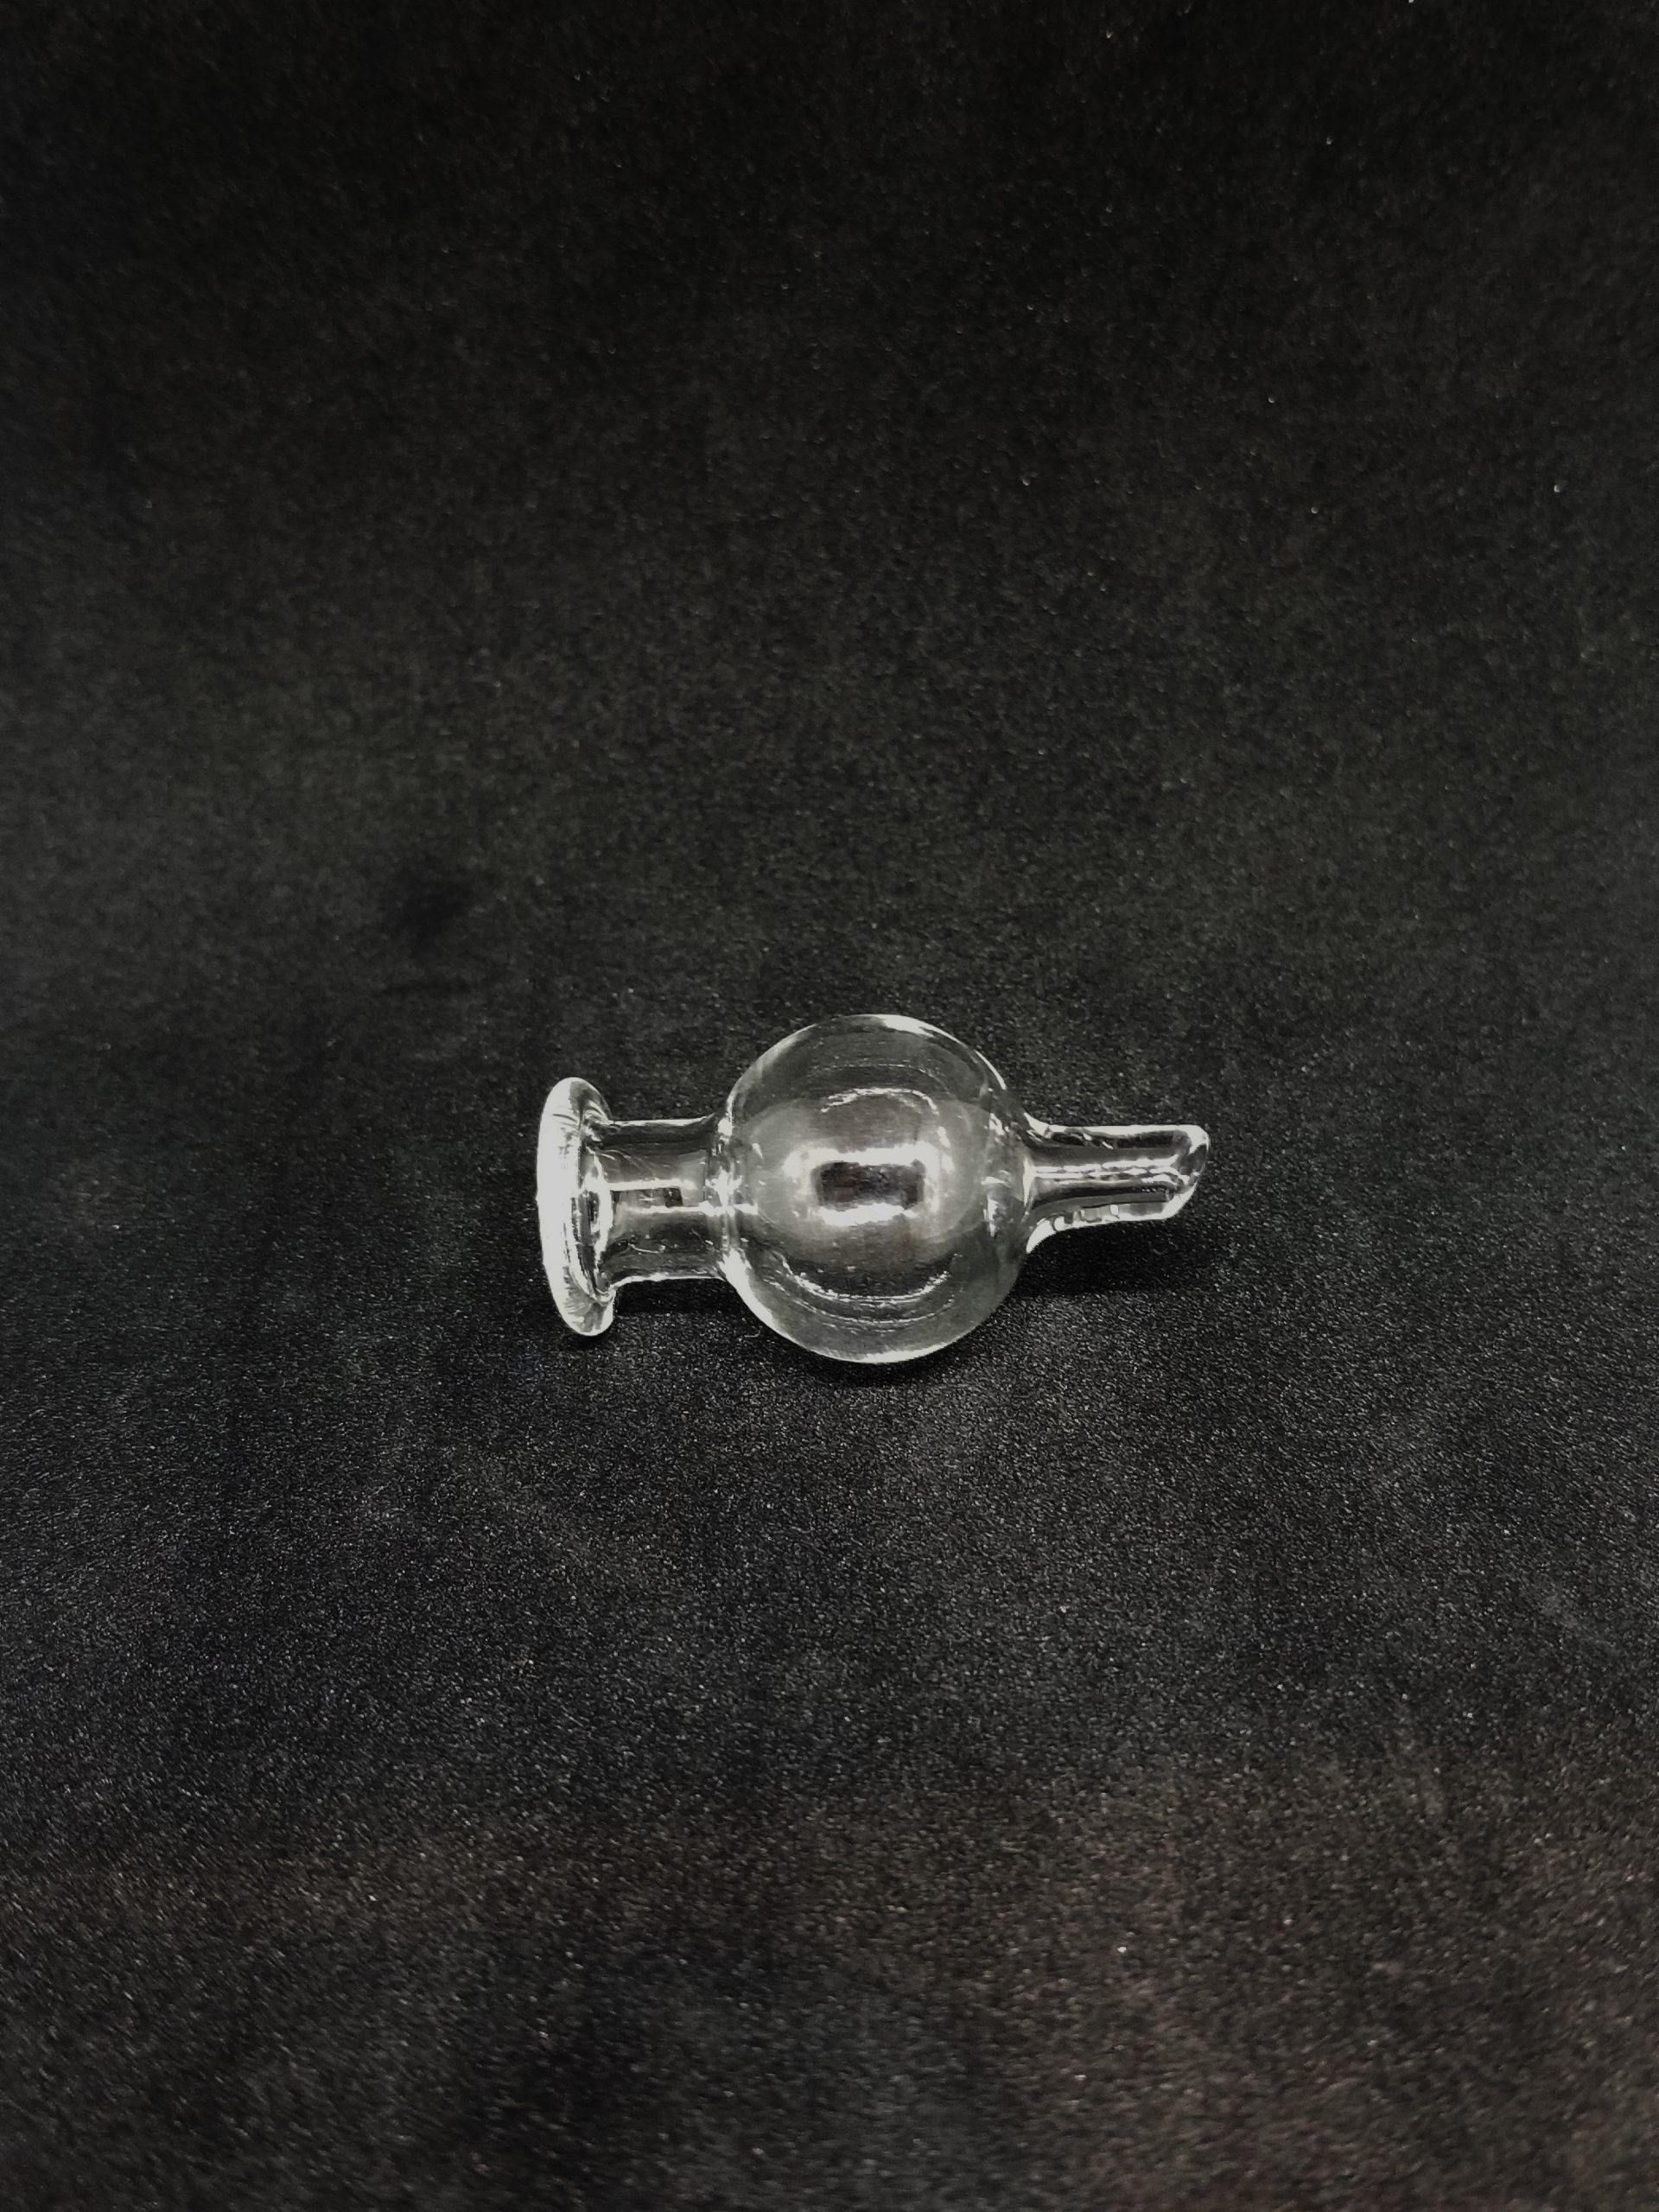
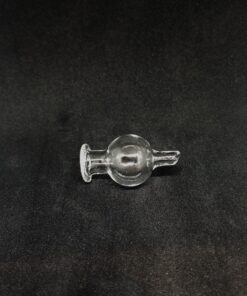
Directional Airflow Carb Cap Quartz carb cap for banger. Kit now includes bubble cap pictured. |
🔌 Instructions
| Power On/Off Hold the center button for 5 seconds |
Auto Shutoff Timer Press center button 5 times fast while on. Select 0-5 (0 = no shutoff, 1-5 = hours) |
| Temperature Adjustment Use the left button to lower and the right button to raise the temperature |
|
⚠️ Important Notes
This eNail comes with a coil that works only with 110V outlets. There is a special coil for 220V outlets — if you need it, add a note to your order. No extra charge.
🔧 Replacement Parts & Accessories
Want to build your own eNail? Every coil, controller, banger and terp slurper we build lives in one place – browse every eNail coil and controller.
⚙️ Click here for user settings, temperature calibration & the full manual
Download the PID controller manual (PDF) — straight from the factory, covers the panel keys, parameter list and wiring.
- Change the set temperature: in the normal display, use the up and down keys. Factory set value is 710.
- Switch °F to °C: press SET, enter password 0089, step down to CorF and set it. 0 = Celsius, 1 = Fahrenheit.
- Self-tune (AT): long press the > key until the AT light flashes and the unit tunes itself. To end it, hold > for three seconds. It only needs to be run once, not every session.
- No auto shutoff: these full size controllers hold temperature until you switch them off. The auto shutoff timer is only on the smaller controllers.
🌡️ Reading hot? Here is how to correct it
Matt’s own controller showed 615°F on the display when the glass was really closer to 550°F — about 65° hot. Yours may differ, so treat 65 as his number and adjust to whatever yours turns out to be. This is the exact sequence he used, on the four keys SET, >, ∧ (up) and ∨ (down):
- Press SET once. A password prompt comes up.
- Enter 0089. The > key moves to the next digit, the ∧ key raises it. Press SET to accept.
- Now tap SET and watch the screen. It steps in this order: inty → outy → HY → psb. That is four taps to land on psb.
- On psb, press ∨ down to -065. A four digit screen writes -65 as -065, so that is correct. This tells the controller it has been reading 65° too hot.
- Keep tapping SET past rd and Corf until it reads End. It drops back to the normal screen on its own.
Go by what the screen says rather than by counting taps. If you land on outy you are one short, and if you hit rd you went one too far.
After this, the heat you always ran is 550 on the dial, not 615. The number moved. The heat did not.
| Weight | 18.26 oz |
|---|---|
| Dimensions | 6 × 5 × 3 in |
Related products



Best Sellers